Web Page Settings
When you are ready to publish your page, save your changes and then exit the editor. From the page list, click on page settings icon by hovering over the page, as shown below:
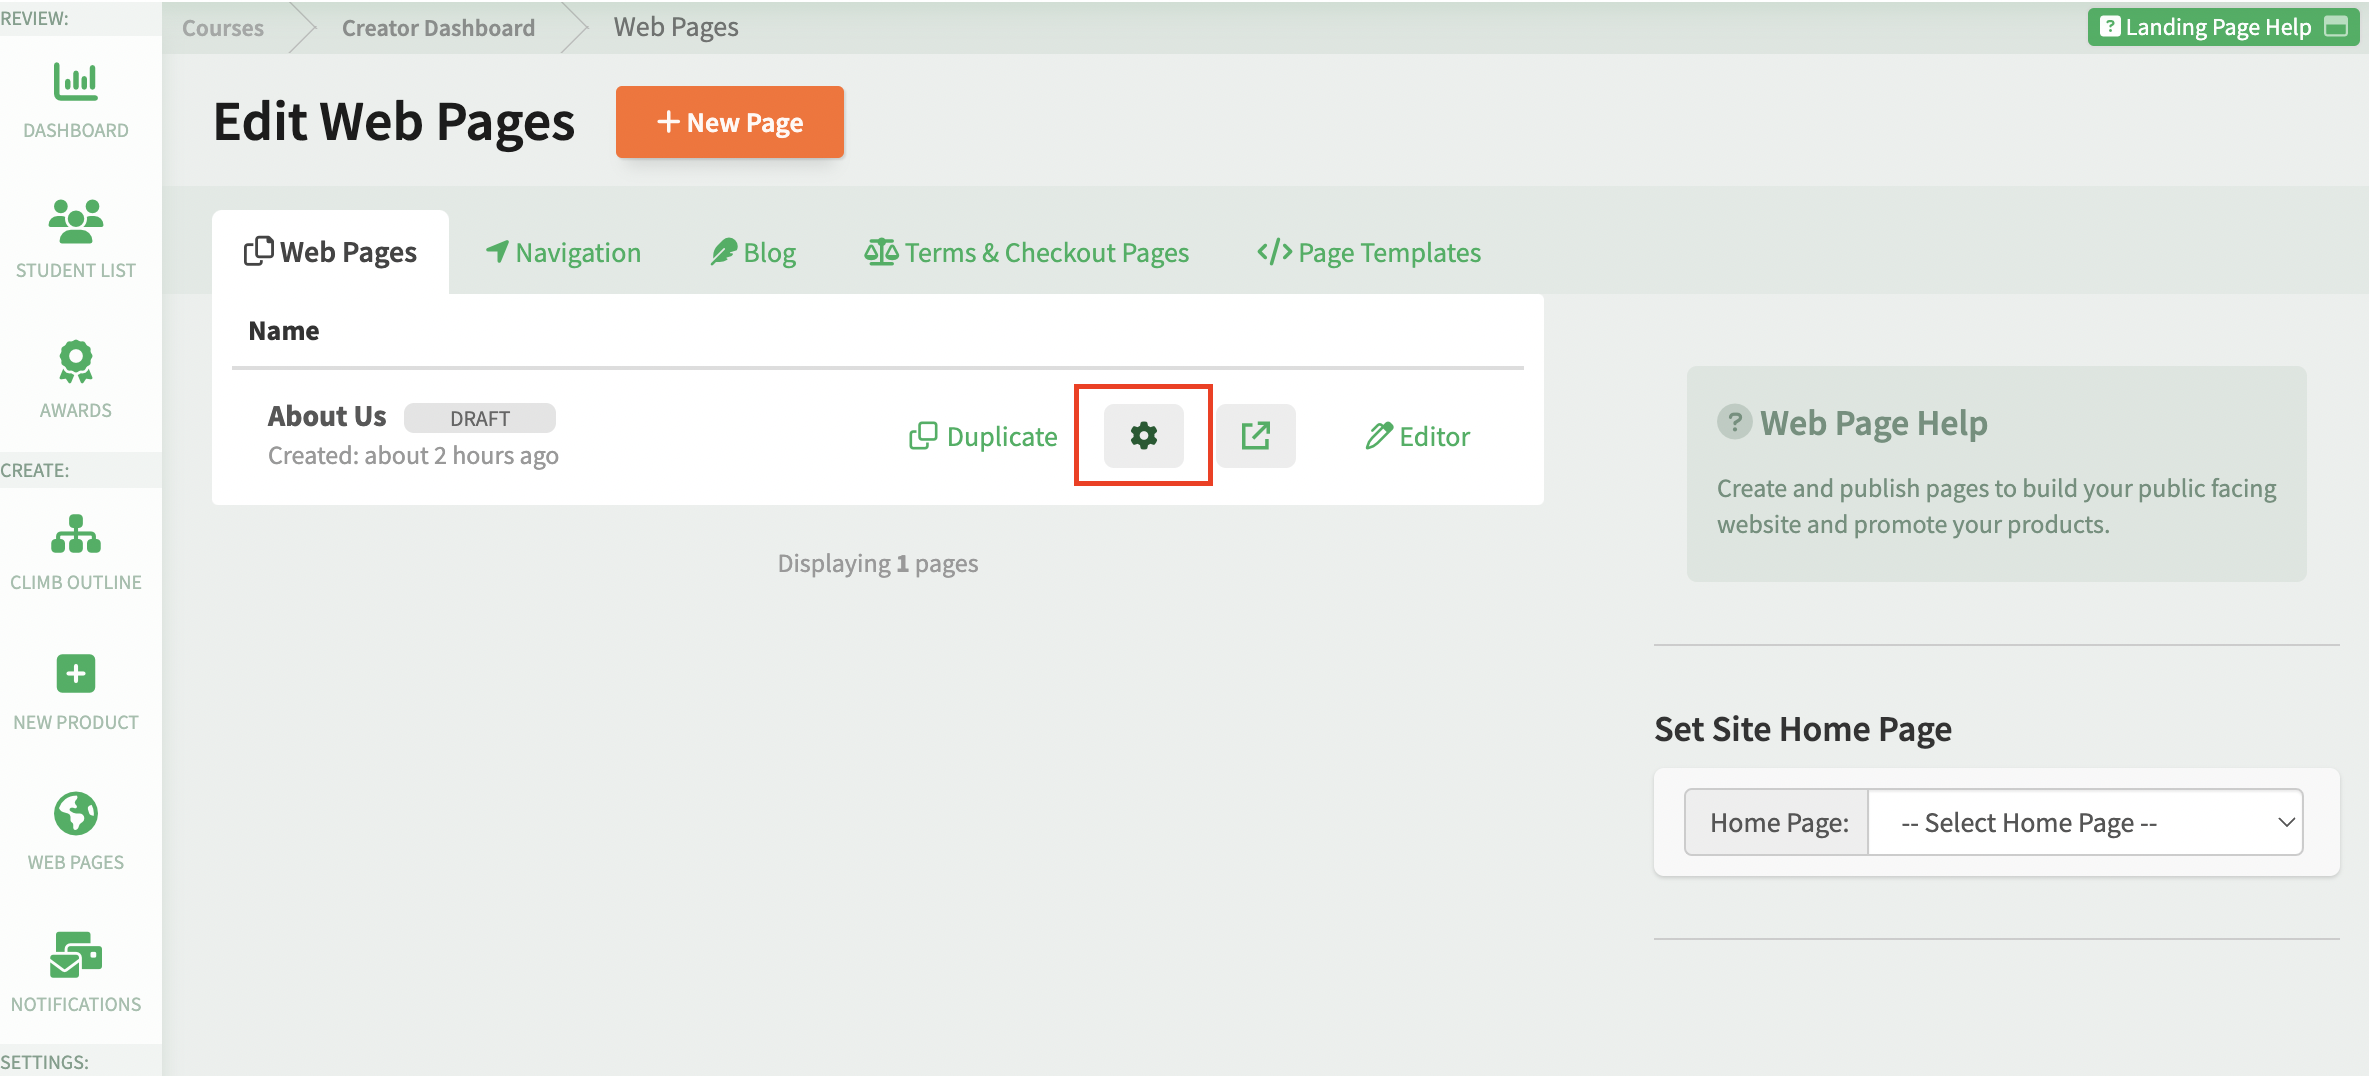
Here you can edit the page setting and publish your page. Before publishing, make sure to fill out the page title, URL and meta description to help your web page SEO.
Here is what you can edit:
- Page Name: this is just for your reference and will not appear on search engines
- Page URL: the URL for your web page is set based on the name of your page upon creation. You can adjust it anytime, but note that old page links you've posted online may no longer work.
- Page Title: this is the name of the page as it will appear on search engines, so make sure to insert a clear name as you want your website visitor to see it
- Meta Description: a description of the web page that will appear in search engine results. The recommended length of the meta description is 160 characters or less.
Once you have set all of this, you can click on the "Published" button at the end of the page to publish your page.
Web Pages in Your Sitemap
Your program's sitemap is available at /sitemap on your program domain. It includes published web pages and released blog articles when your blog is enabled. The /terms, /privacy, and /imprint pages are included when you have saved content for them in your account settings.
Publishing, unpublishing, deleting a published page, or changing its URL queues a sitemap refresh in the background. You do not need to submit a new sitemap each time. Search engines may take additional time to reflect these changes in their results.
Social Sharing Images for Web Pages
Pages built with the Web Page Builder, including a page selected as your home page, use the Community Cover Image from your account settings as their social-sharing image. Upload a PNG or JPG image; the recommended size is 1200 × 630 pixels.
Heights adds this image to the page's Open Graph metadata in the HTML head so services such as LinkedIn can read it. You do not need to add image meta tags through Landing Scripts, which inserts code into the page body. Social platforms may cache older previews; after changing your image, use the platform's link inspection tool to request a fresh preview.