Events
On the left sidebar of your Creator Dashboard, you can find a link to Create Events (Notification > Events).
An event is a notice for your learners, not a live stream or meeting room. You can use events to highlight new lessons, link to a live session, or share details for in-person training. Posting an event does not schedule or start a live session, send invitations, or grant access to the linked content.
Every event has a start date and end date. Enter dates and times in your local timezone. The start date and time cannot be edited after creation.
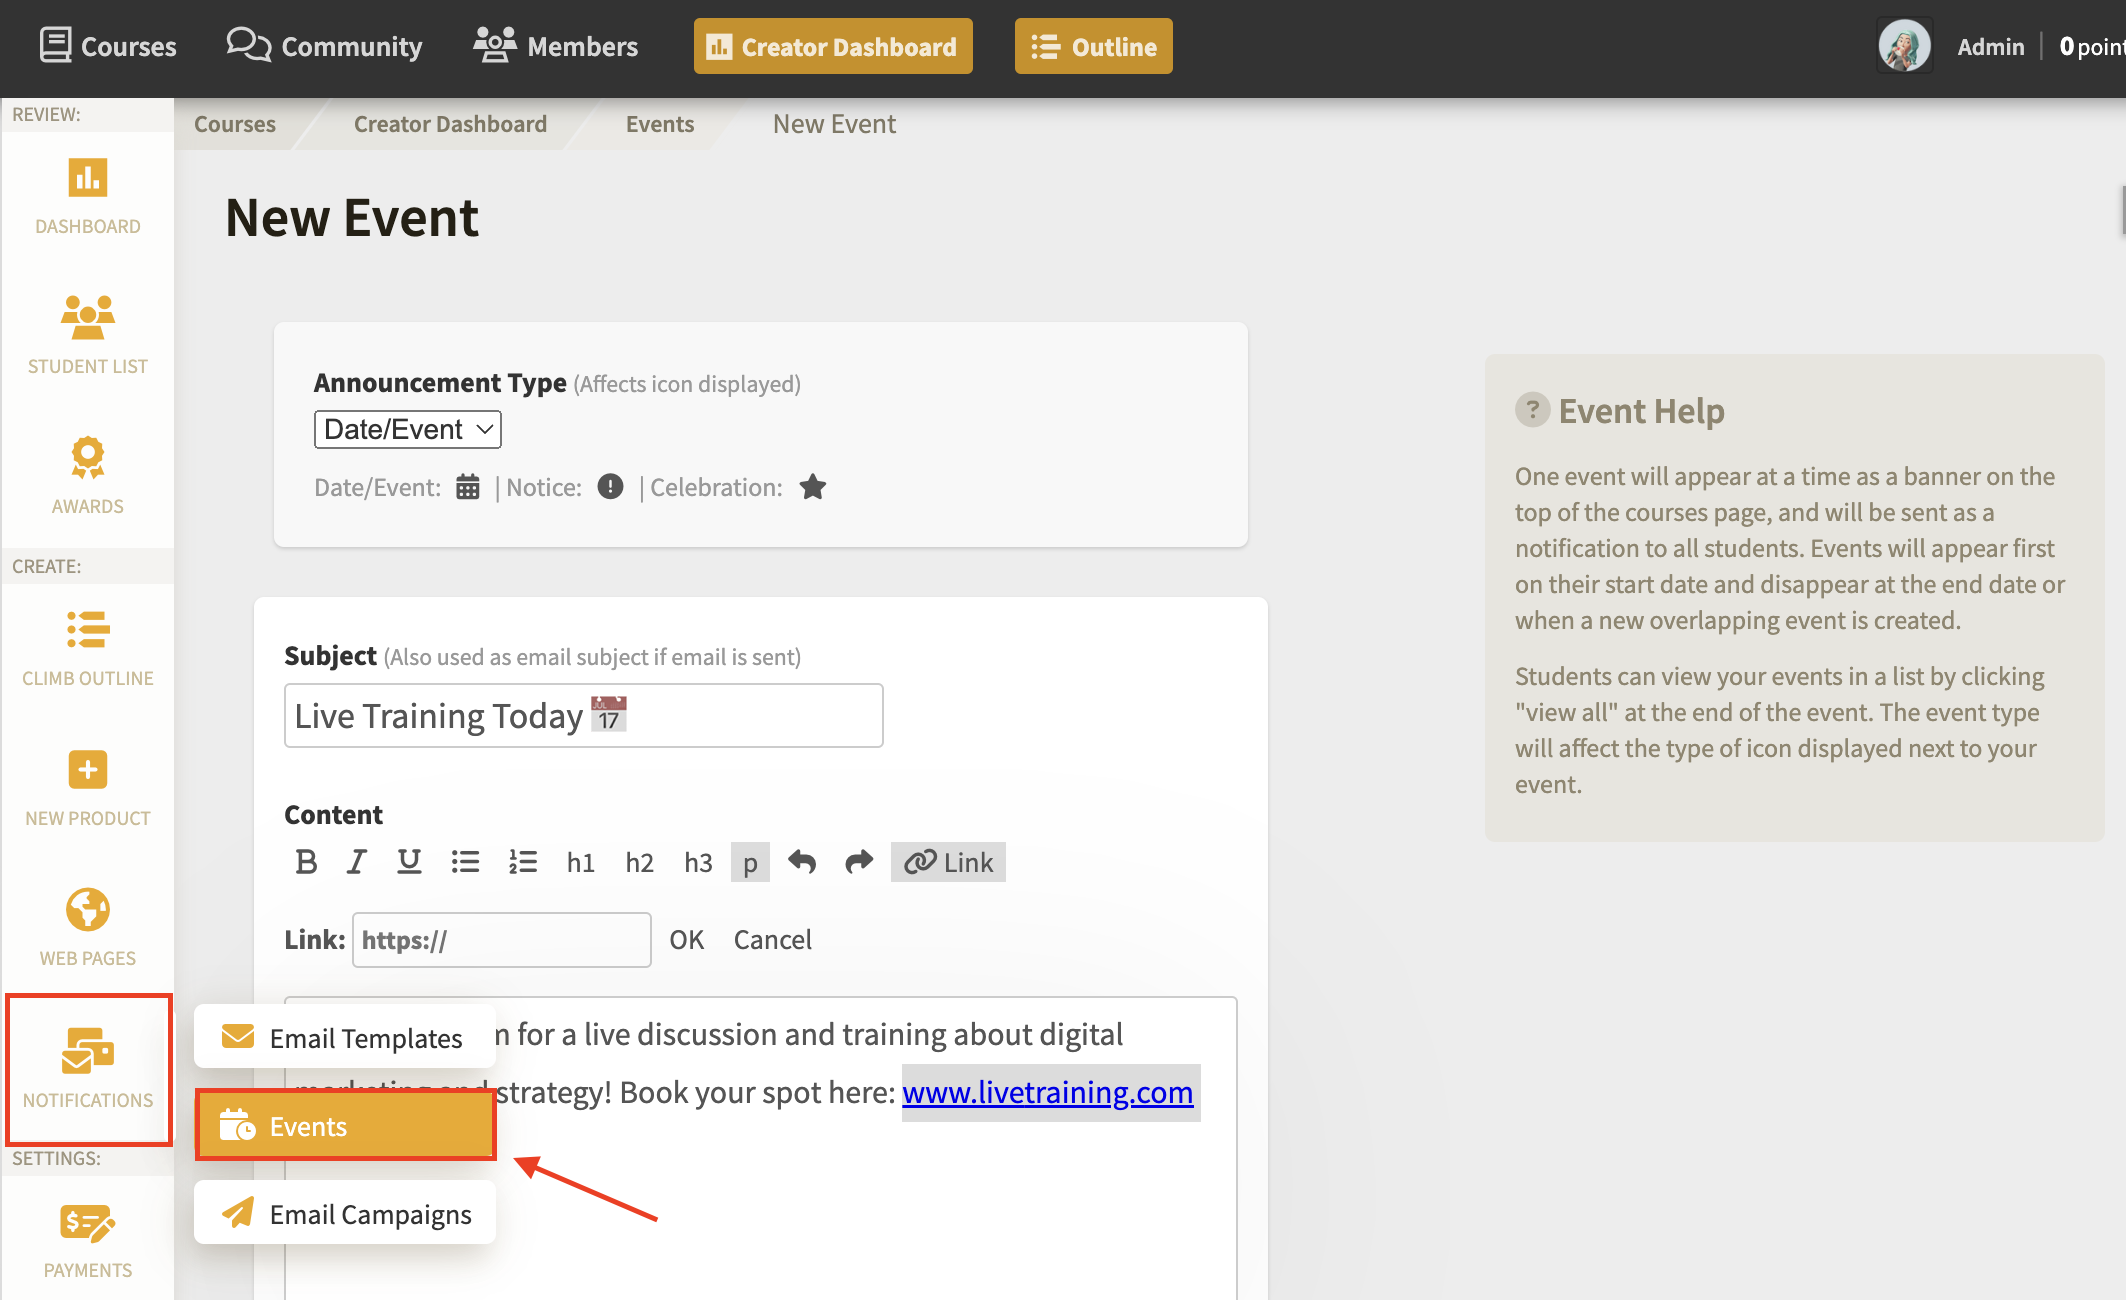 Create an event from the left side menu of your creator dashboard.
The top event alert appears during the period between its start and end date. If your Student Dashboard includes the Events block or calendar, it can also show upcoming events before their start time. Expired events remain in the Events list but no longer fill dashboard event cards. The event type option displays a different icon (Calendar for Date/Event, Exclamation for Notice, and Star for Celebration).
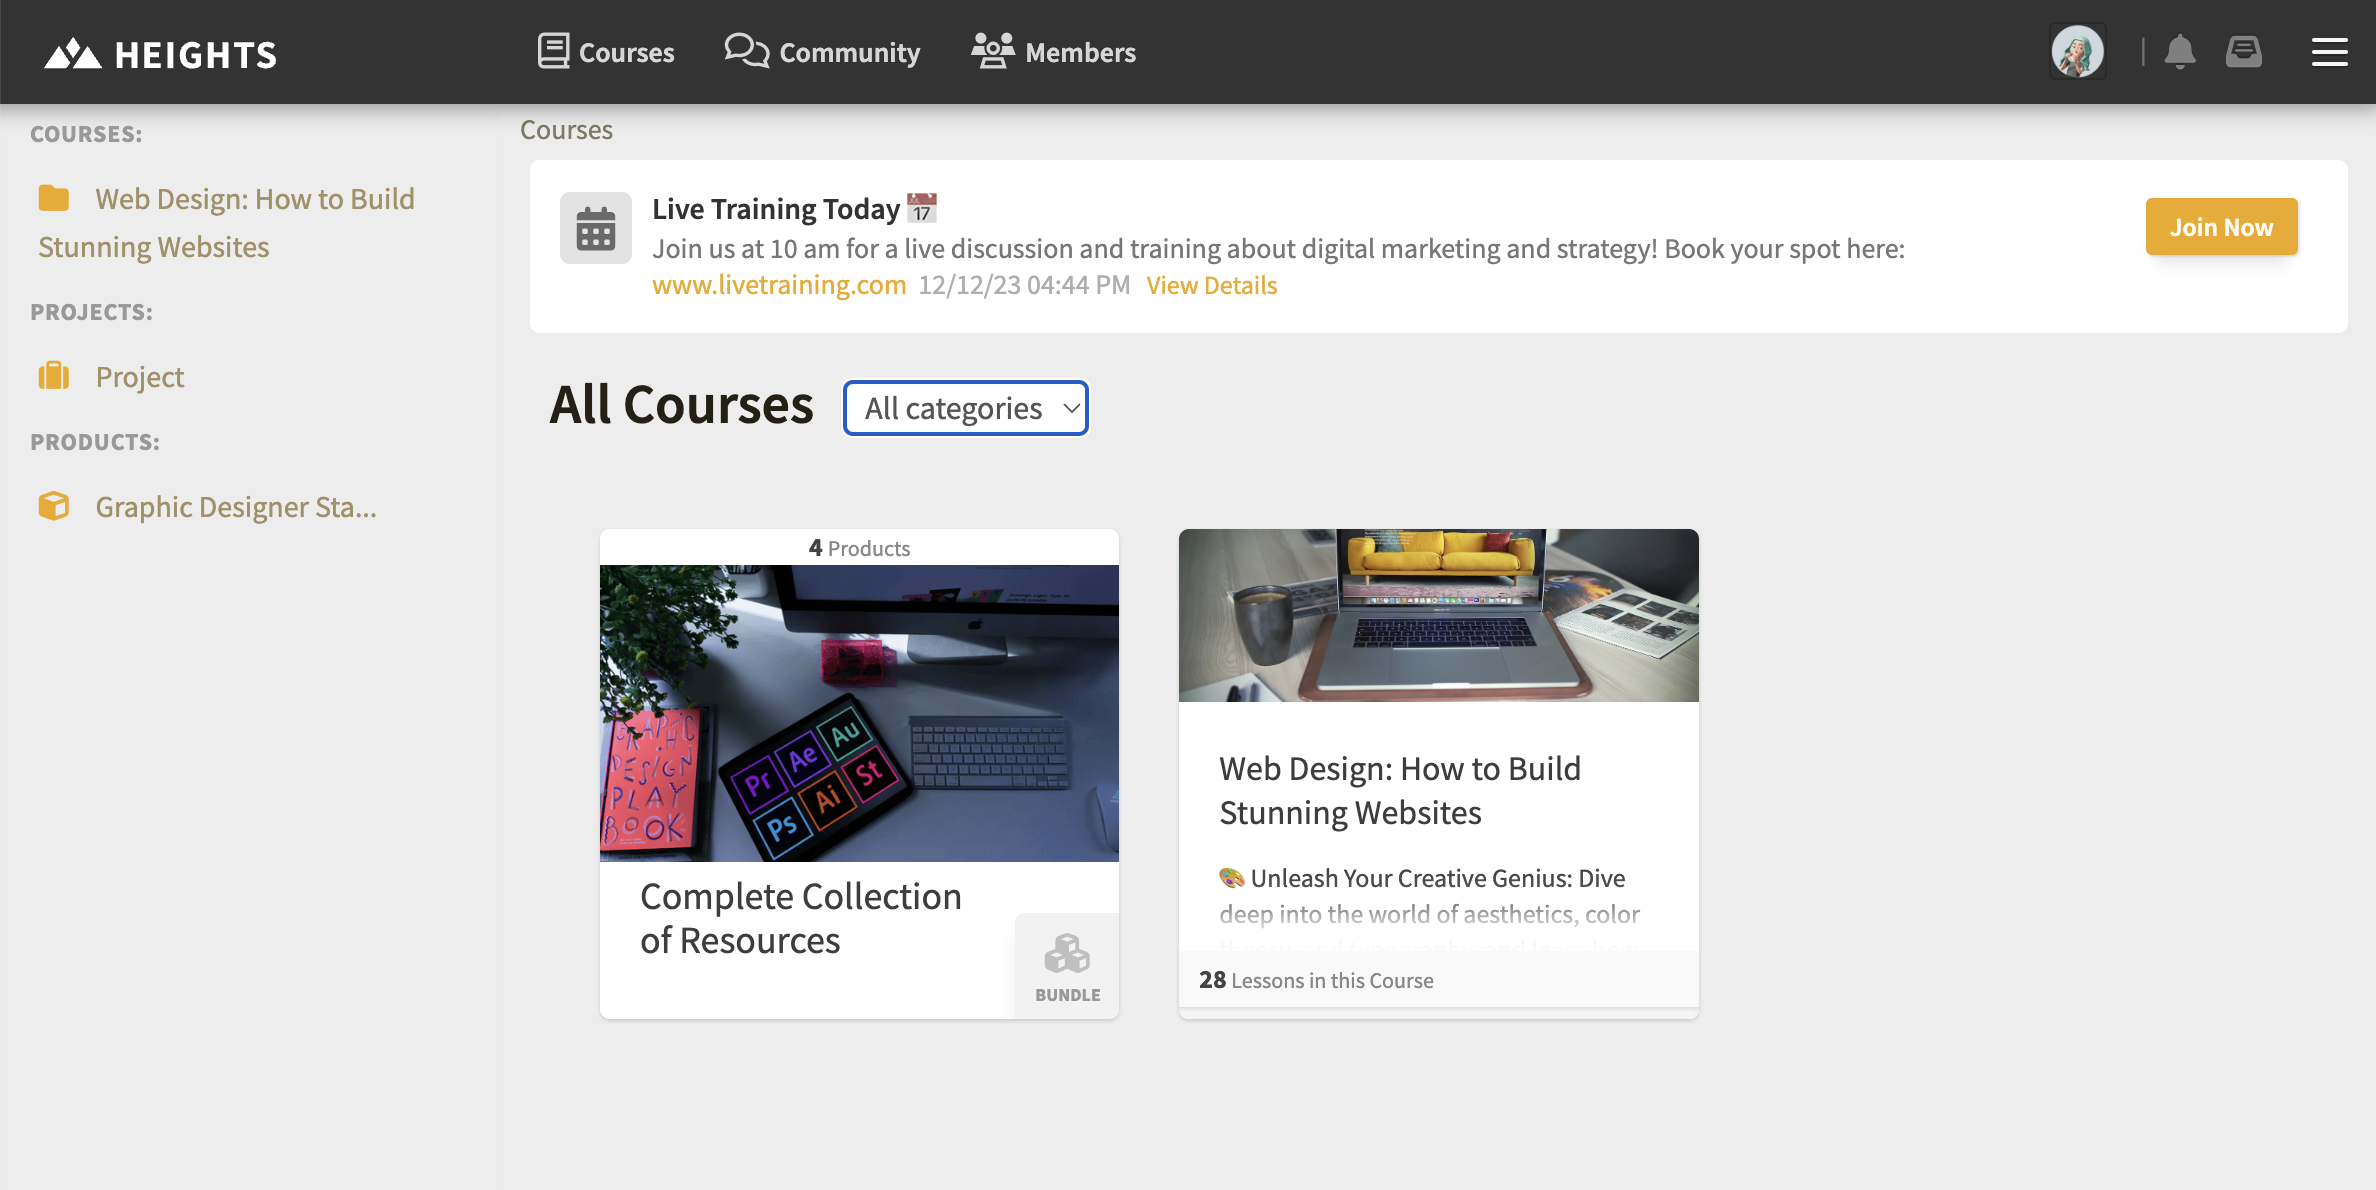 How an event appears to learners on their courses page when they log in.
You can choose to use an optional link button to redirect your students to an external link (as in the picture above), or not show a button at all.
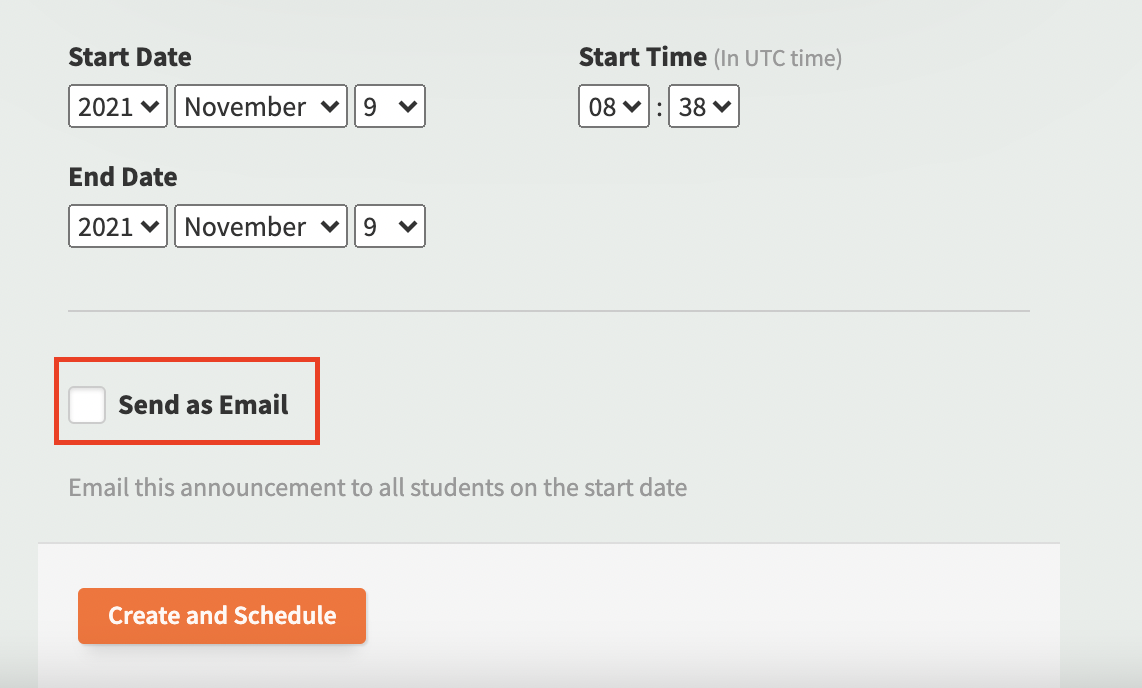
You can also choose to email eligible students in the event's audience. To do this, select "Send as Email" when creating the event. Email eligibility and notification preferences still apply. Once an event email is scheduled, its audience cannot be changed.
Choose who can see an event
In Event audience, leave all channels unselected to show the event to all users. To reach a smaller group, select one or more community channels. Learners can see the event if they can access at least one selected channel. Selecting a public channel may include all learners; use a restricted channel for a private group.
The same audience applies to dashboard cards, calendar entries, event alerts, the Events list, event details, and new event notifications. Creators can see all events. Removing a channel does not make its restricted events public. Changing an audience does not recall notifications already delivered.
An event link does not bypass the access rules for a channel, course, product, or live session. Choose an audience that matches the session you are promoting.
Manage events with Heights AI 3
If Heights AI 3 is available in your account, you can ask it to find existing events, create an event notice, or edit an event's subject, content, icon, end date, link button, or audience. For example: “Create an event for next Friday's group call, visible to learners in my VIP community channel, with a button linking to the call.” Include the date, time, and intended audience, or let AI 3 clarify missing details.
AI 3 prepares a confirmation card. Review the event details and audience, then confirm to save. AI-created events are dashboard notices only and do not schedule an event email. AI edits leave existing email settings unchanged. The event start time stays locked, and an audience cannot change after an event email has been scheduled.
Scheduling a live session and posting an event notice are separate actions. If you want both, ask AI 3 to schedule the session and create a matching event so eligible learners can notice it on their dashboard.